What are the necessary preparations before the installation of Hepa filters?
Before you install a Hepa filter in your home, it’s important to make sure you have all the necessary preparations in place. Here are four things you need to do:
1. Verify that you have the right type of hepa filter for your home. There are three types of Hepa filters - mechanical, activated carbon, and ozone - and each one works differently to improve air quality. Make sure you get the type of filter that’s best suited for your home’s size, layout, and other features.
2. Get an installation estimate from a qualified contractor. A qualified contractor will be able to provide you with an estimate for the cost of installing your Hepa filter, as well as the expected timeframe for completion. This will help ensure that you’re getting the best possible deal on a quality installation.
3. Protect your property while the installation is taking place. Make sure to keep any pets away from the area where the installation is taking place, and be aware of any potential hazards on your property that might be caused by the installation process.
4. Clean up after the installation is complete. Once the installation is complete, make sure to clean up any debris left
What are the types of Hepa filters?
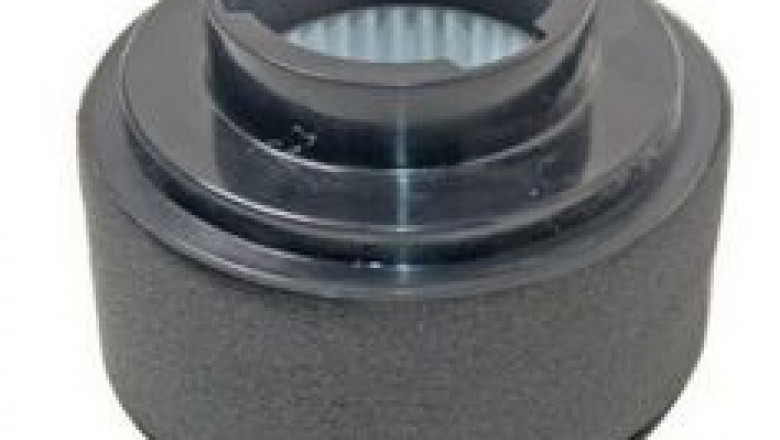
There are three types of Hepa filters: activated carbon, photocatalytic oxidation, and ozone. Each type has its own advantages and disadvantages. Activated carbon is the cheapest and easiest to install, but it doesn't kill all bacteria and can cause odor. Photocatalytic oxidation is more expensive but can kill more bacteria and has no odor. Ozone is the most expensive but can kill the most bacteria.

Source:https://i.pinimg.com
What is the lifespan of a Hepa filter?
The lifespan of a Hepa filter is generally around six months, but it can vary depending on the type of filter and how often it is cleaned. It is important to keep the filter clean and replace it as needed to ensure optimal air quality.
How to choose the right type of Hepa filter?
When it comes to installing a Hepa filter or other hepa filter such as hepa filter h11, hepa filter h13 and u17 hepa filter, there are a few things you'll need to take into account. The type of filter you choose can make a big impact on the quality of air your family breathes, so it's important to select the right one for your home. Here's a guide to help you choose the right filter for your needs.
When it comes to installing a Hepa filter, there are a few things you'll need to take into account. The type of filter you choose can make a big impact on the quality of air your family breathes, so it's important to select the right one for your home. Here's a guide to help you choose the right filter for your needs.
To start, you'll need to decide what kind of air quality you're looking for. If you have asthma or other breathing conditions, you'll want to choose a filter that has an EPA certification. These filters are designed to remove particles such as asbestos and smoke from the air. If you don't have any specific health concerns, however, a lower-grade filter may be adequate.
Next, consider your budget. filters can range in price from around $30

Source: https://i.pinimg.com
How to install a Hepa filter?
If you are thinking about installing a Hepa filter in your home, there are a few necessary preparations that you'll need to do first. First and foremost, you'll need to determine the size of the filter that will be best for your home. You can measure the square footage of your home using a measuring tape or ruler and then find a compatible Hepa filter size on Amazon. Once you have determined the size of the filter, you'll need to purchase it and install it. Here are some tips on how to install a Hepa filter:
-First, determine where the filter will be installed in your home. Most filters fit into standard wall mounts or can be placed on the floor.
-Second, remove any existing furniture or decorations from around the area where the filter will be installed. This will make installation easier and avoid any damage to the walls or floors.
-Third, measure and cut the holes in the wall or floor where the filter will be installed. Be sure to leave enough space between the hole and the adjacent surface so that air can flow freely.
-Fourth, insert the filter into the hole and tighten it using screws or bolts. Be sure to double check that all screws are tight
Summary
If you're thinking about installing a Hepa filter in your home, there are a few things you should do first. Preparations include making sure the area you'll be installing the filter in is properly ventilated, checking for asbestos and other potential hazards, and ensuring that you have all the necessary tools and supplies. Here's a look at each of these items:
1. Make sure the area where you'll be installing the filter is properly ventilated. This means opening any windows and doors to allow fresh air into the room, and using fans or air conditioning if necessary to keep it cool or warm.
2. Check for asbestos and other potential hazards before starting work. If you're unsure whether any asbestos exists in the area, ask your local health department for advice. If there are any hazardous materials present, wear protective gear such as gloves, masks, and glasses when handling them.
3. Have all the supplies you need ready before beginning work. This includes tools like saws, drill bits, screws, and nails; as well as water, soap, rags, and a bucket to catch debris while installing the filter.
4. Be patient— installation of a Hepa filter can take some