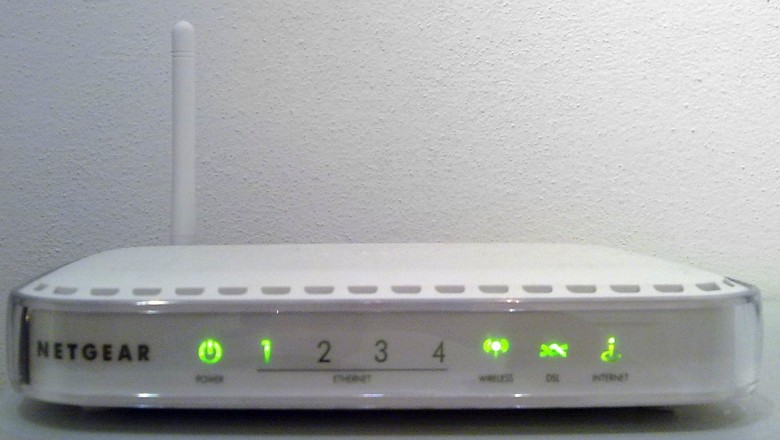
Netgear router is understood for designing routers with the New Look and ease-of-use that users can efficiently manage with none hassle.
Despite its optimum features and skill, the users often encounter several technical faults and glitches during this device.
Port forwarding not working Netgear is one among those issues that occur within the Netgear routers thanks to the server faults or thanks to system misconfiguration.
So, if you’re one among those users who are encountering this issue, then you would like the right help to urge obviate this bothersome situation.
In this context, we’ll share all the basis causes and therefore the premium solutions to terminate this Netgear router error within a flicker of your time
Root Reasons for the Port Forwarding no Working Netgear Issue:
If you’re seeing this annoying Netgear genie port forwarding not working issue, then there could be several reasons behind this fault.
This issue mainly occurs because of disabling the port forwarding rule mistakenly on your Netgear router. If your device is running outdated with the firmware, then it’ll surely end within the Netgear issue. Sometimes, disabling the DMZ or misconfiguration of the firewall settings on your Netgear router can also end during this error. But thankfully, we have got amazing hacks to eliminate this error that we’ll elaborate on within subsequent verse.
Effective Methods to Fix the Port Forwarding, no Working Netgear Error:
Here we are opening all the effective solutions to end this port forwarding not working problem.
You can try all the methods consistently until you get the problem fixed permanently.
Method 1: Approve the Port Forwarding Rule on your Netgear Router
Here is that the primary method that you simply should try if you’re encountering the port forwarding not working Netgear issue. Follow the steps mentioned below to realize the task. Open an online browser on your computer and log into the Netgear router’s home page. Enter the Login ID and Password of your router to log into the device as Admin. After that, locate the Port forwarding option from the upper corner of the screen and click on thereon. Type the port number or port range that you simply want to forward and pick the protocol, either TCP or UDP. At last, enter the static IP address that you’ve selected and clicked on the Enable option below to enable the Port Forwarding Rule. Now, close all the tabs and restart the router device to determine if the Netgear issue is now fixed. If the tactic fails or still you’re encountering the problem, try the next solution discussed below.
Method 2: Refresh the Firmware on your Netgear Router
If the firmware is outdated, then there might be a big possibility of getting a genie port not forwarding issue on your Netgear router.
Here are any steps implemented to update the firmware on your Netgear router.
Take a coax and connect one end to your computer and thus the opposite end to the router. Now, grant access to the wireless connection and launch the default browser from your computer. Type the official website of the browser and tap the Enter key to navigate to the router’s web setup page. Type the User ID and Password and tap the Enter key to log into the Netgear website. If you haven’t changed the password for your router, tap on the Advanced tab from the very best of the screen. Click on the chief option and choose the Firmware Update option from the list. Click on the Check Automatically option and this might start automatically checking if there’s any firmware update available or not.

If there any latest update prompts on the screen, click on the Download key and install the service manually. Now, close all the tabs and restart the router to determine if the Netgear issue is now fixed. If still, you’re getting this issue or the above method fails, you’ll try subsequent solution cited below.
Method 3: Impair the DMZ on your Netgear Router
The DMZ or DMZ is an in-built feature within the router that allows the device to host the inside network that has all UDP and TCP ports. Sometimes, the DMX goes enabled mistakenly or itself because of some technical faults which end within the port forwarding not working issue.
Follow the steps explained below to impair the DMZ port on your Netgear router.
At first, activate the pc and open an online browser to proceed to the next. Now, drive to the official website of the Netgear router and drive to the Login Management page. After that, open a replacement tab on your browser and type the IP Address as “192.168.1.1/192.168.0.1/192.168.0.254” then tap the Enter key. Enter the User ID and Password and tap the Enter key to urge into the login page of your Netgear router. Configure the DMZ and click on on on the Forward option from the list of the results. After that, select the selection to Disable and input the IP host device as “192.168.0.100”. Click on the Save option then click on the Apply button many|to avoid wasting”>to save lots of lots of the DMZ settings on your router.
Now, restart the Netgear after impairing the DMZ and see if the gate forwarding is now working.
If still, you’re encountering this issue or the above method fails, try another solution discussed within the subsequent section.
Method 4: Configure the Netgear Router Firewall
Every router device goes disfigured sometimes then are the Netgear routers. If the settings or the configuration module changes, it’ll surely end during this issue. Hence, follow the steps discussed below so on reconfigure the Netgear router firewall. At first, activate your PC and open an accurate browser that you simply are using. Type the IP address of your router and launch the Netgear homepage on a subsequent screen. Drive to the Firewall option from the left side of the router’s homepage. Now, click on the Advanced Settings option from the upper list of the screen. Click on the Reset All option then click on the Save button below the screen many|to avoid wasting”>to save lots of lots of the changes. Now, close all the tabs and restart the Netgear router to determine if the problem is now eliminated.
Conclusive Words
After working through each step and thus the methods discussed above, you are not touched with the port forwarding not working Netgear issue. Try to not close the browser or the recent tab while working on the above methods as there’s a chance that Windows networking might go corrupt.
I hope the above article was beneficial enough to assist you on the thanks to eliminating the Netgear router, not port forwarding issues during a flicker of some time. If the methods fail or still you’re getting this error, then be happy to consult knowledgeable to allcustomernumber.com eliminate this error with none hassle. Lastly, if you discover other solutions apart from the methods discussed above to resolve this error, then you’ll share it with us within the comment section below.